Physical Address
304 North Cardinal St.
Dorchester Center, MA 02124
Physical Address
304 North Cardinal St.
Dorchester Center, MA 02124

The purpose of this guide is to help you setup Ubuntu Server, Install a Vanilla Fabric Minecraft Server, Setup some basic Mods, and play on your server from Playit.GG without port forwarding. We want to make Vanilla more fun without an overwhelming amount of Mods.
You will need to visit the following link:
https://ubuntu.com/download/server
Download the LTS version of Ubuntu Server
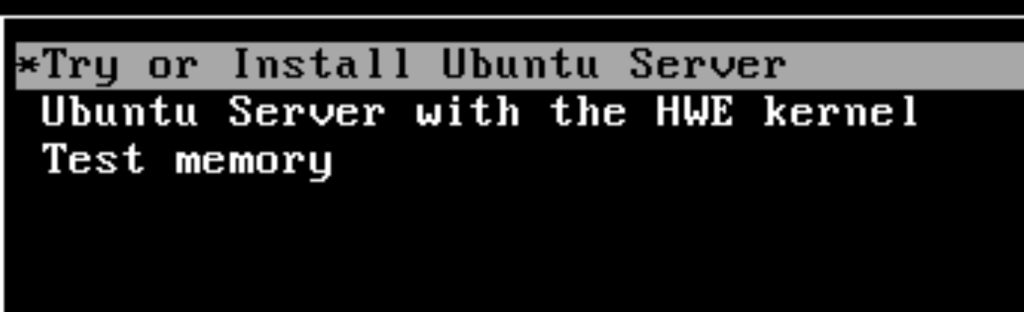
Press on “Try or Install Ubuntu Server”
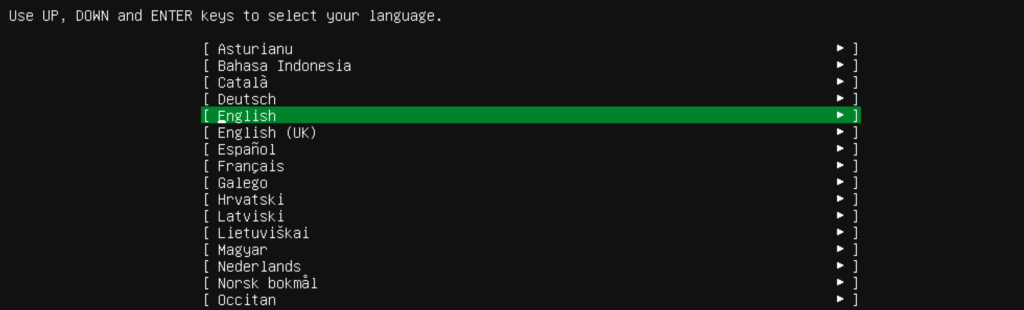
Select your language
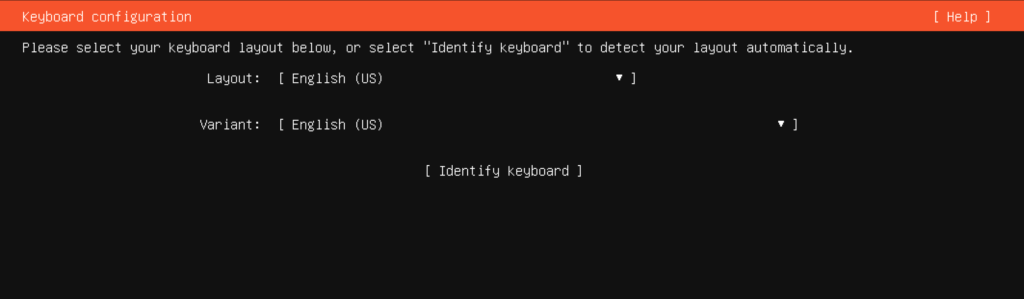
Select your keyboard layout
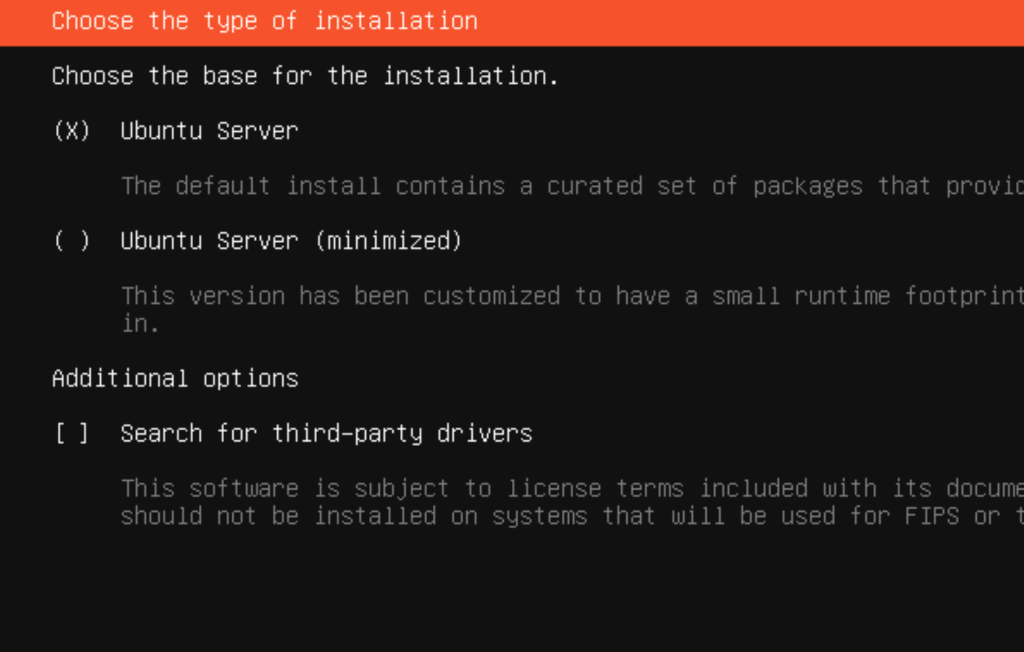
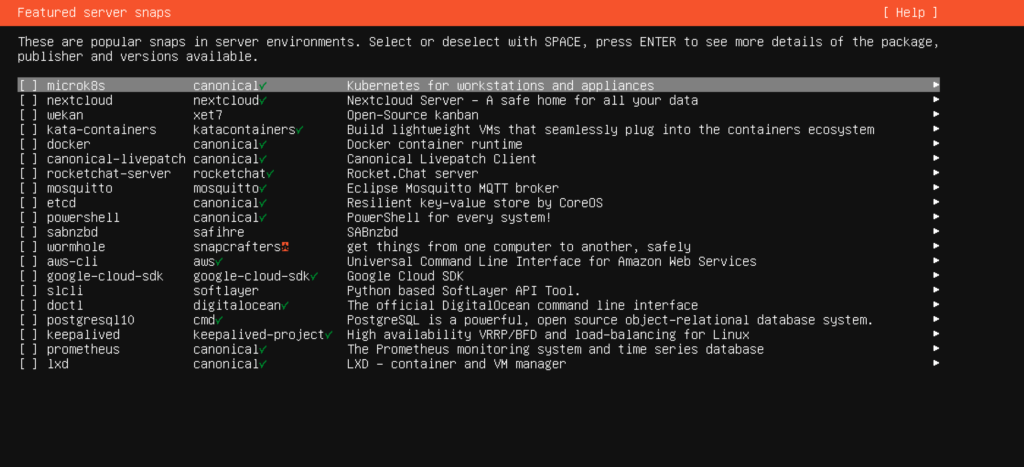
Select “Ubuntu Server”
You can ignore Ubuntu Server minimized and the additional options
Take note of your IP address
In this example, mine is set up using DHCP

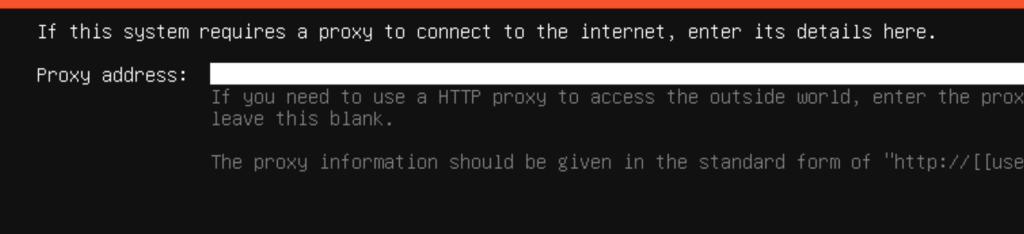
You don’t have to put anything in the Proxy Address
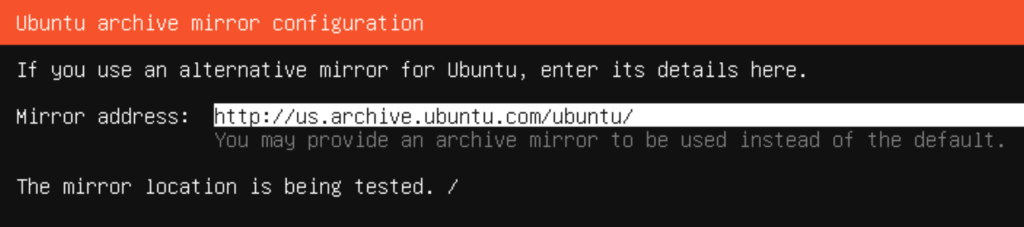
At the bottom of the archive mirror page, press continue.
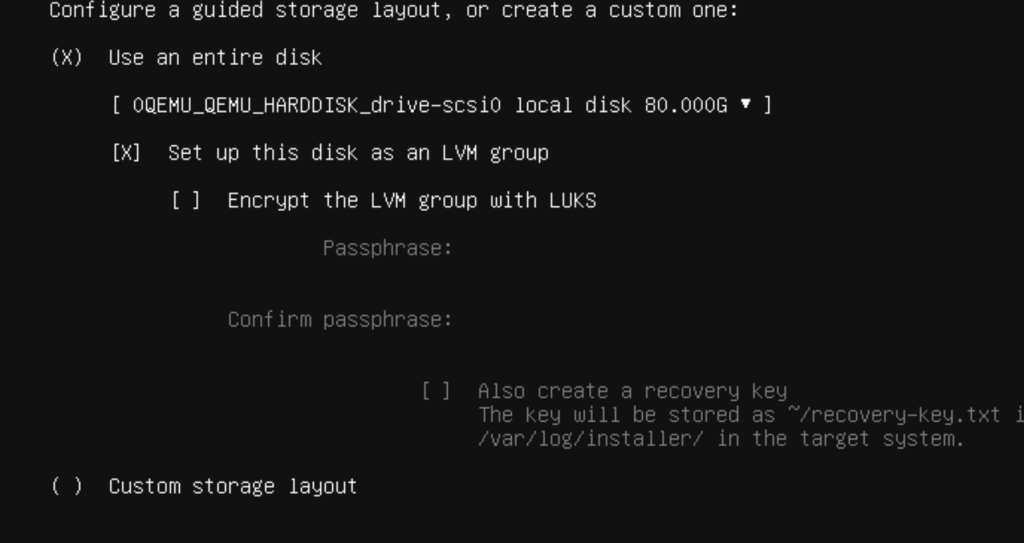
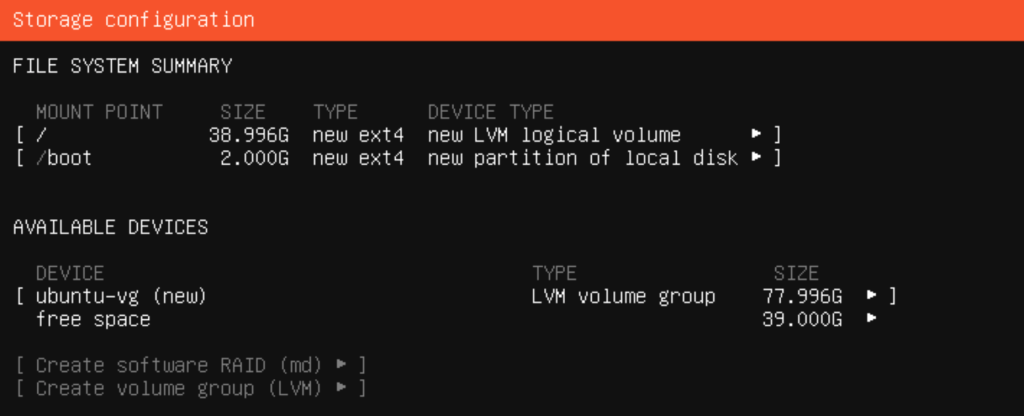
Leave these settings alone and select on done at the bottom
Leave these settings alone and hit continue
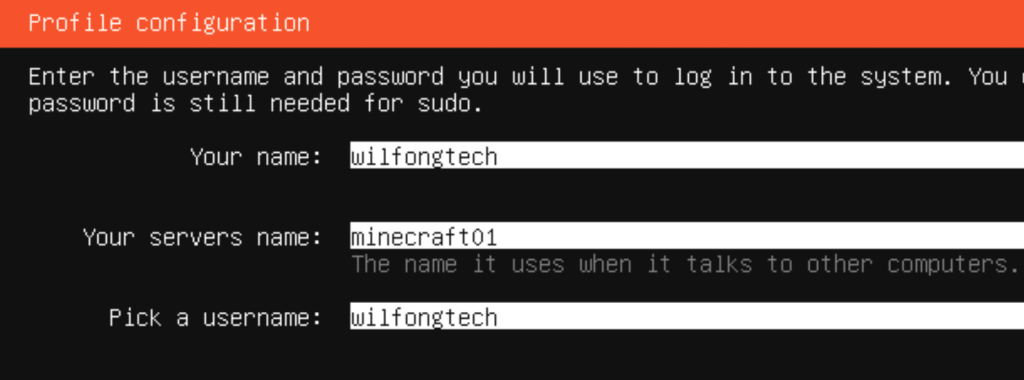
Setup your username, name of the server, and your password for the user.
In our example, the name and username will be the same
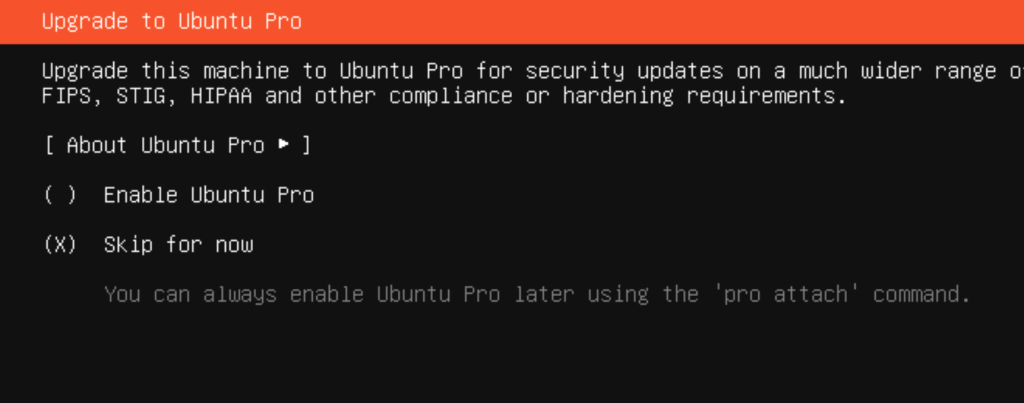
Select Skip for now
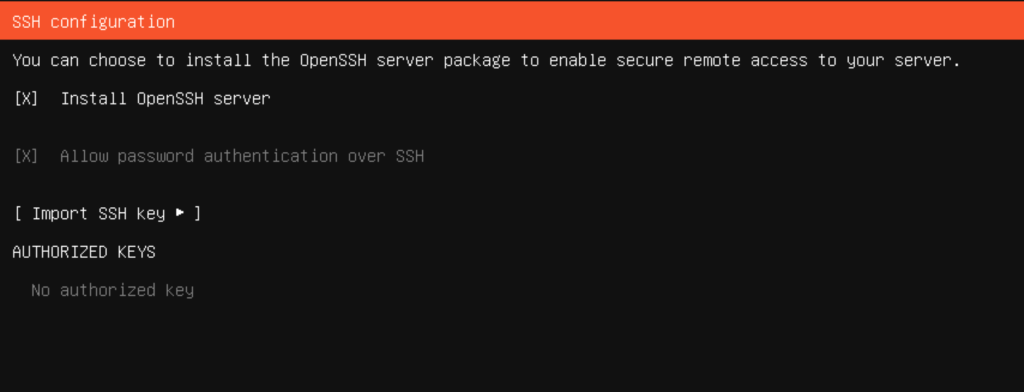
Make sure to install the OpenSSH server so we can connect to it from our local machine
Don’t select anything here
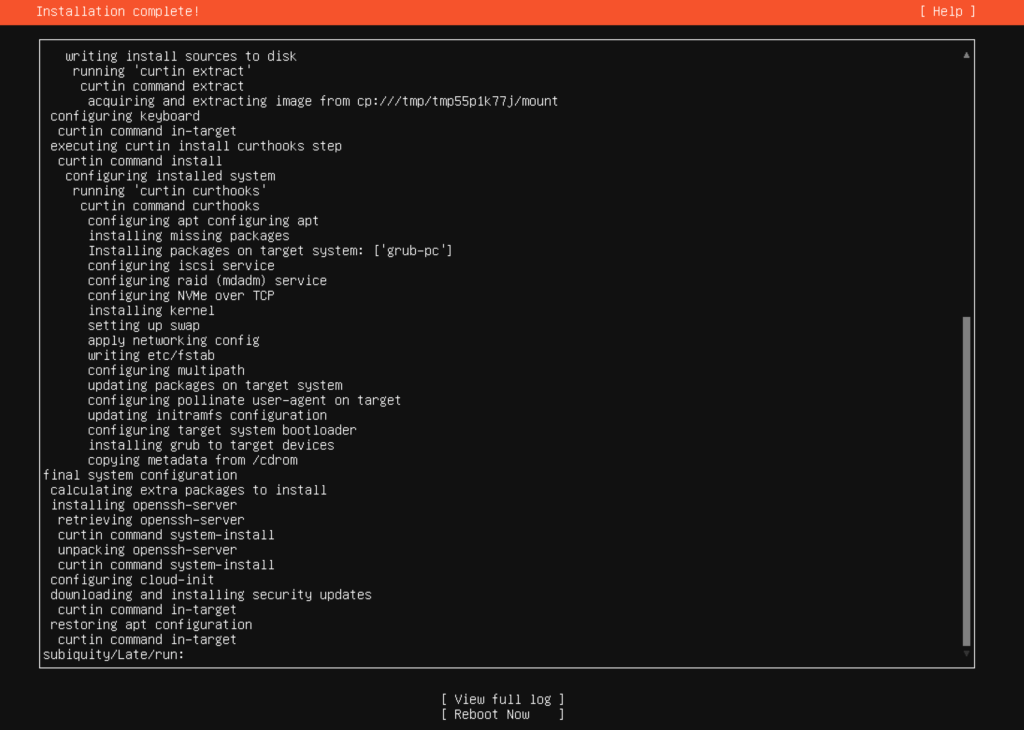
Once the installation is complete, press reboot now at the bottom.
What I did was create a directory for Minecraft to install to instead of the root folder.
sudo mkdir /MinecraftNow when we go to install to the new directory we will use the following command first to change directories
cd /Minecraft/Here we are changing owners of the file to the username we created above. This makes it easier to deal with permission errors down the road. Please take into consideration security like a strong password and allow listing players when the server is setup.
sudo chown username:username /MinecraftGo to https://fabricmc.net/use/server/
We are going to download the server via CLI in Linux:
curl -OJ https://meta.fabricmc.net/v2/versions/loader/1.21.8/0.17.2/1.1.0/server/jarNext we will need to Launch the executable:
Please take note that Xmx2G is the amount of RAM that the server will use. You will need to change this depending on how much RAM your Virtual Machine has. In our case, we will use 8GBs of RAM.
Ours will say -Xmx8G
java -Xmx8G -jar fabric-server-mc.1.21.8-loader.0.17.2-launcher.1.1.0.jar noguiYour server is now setup and ready to be used.
If you want to install mods, I recommend doing so before you launch the first time.
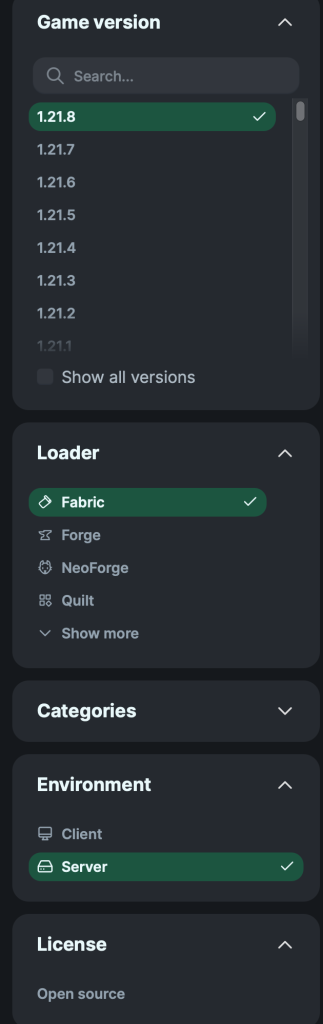
If you want to add mods, I recommend going to modrinth.com and sorting through their mods. In our case, we will be using Minecraft version 1.21.8, Fabric, and we will sort by server.
When it comes to Fabric, I recommend downloading Fabric API, Coth Config API, and Fabric Language Kotlin to start. Fabric mods depend on these core mods to be installed first.
Download the Mods that you want to your computer. I recommend using a mod like Terralith to make your vanilla experience much better:
https://modrinth.com/datapack/terralith
Since our version of Ubuntu is the server version, we will need to SSH our server and upload the mods to the mods folder.
If you’re on windows, I recommend using Filezilla to SFTP to your server. This also works on MacOS.
Open up Filezilla, in the top left fill out the relevant information.
Press on Quickconnect
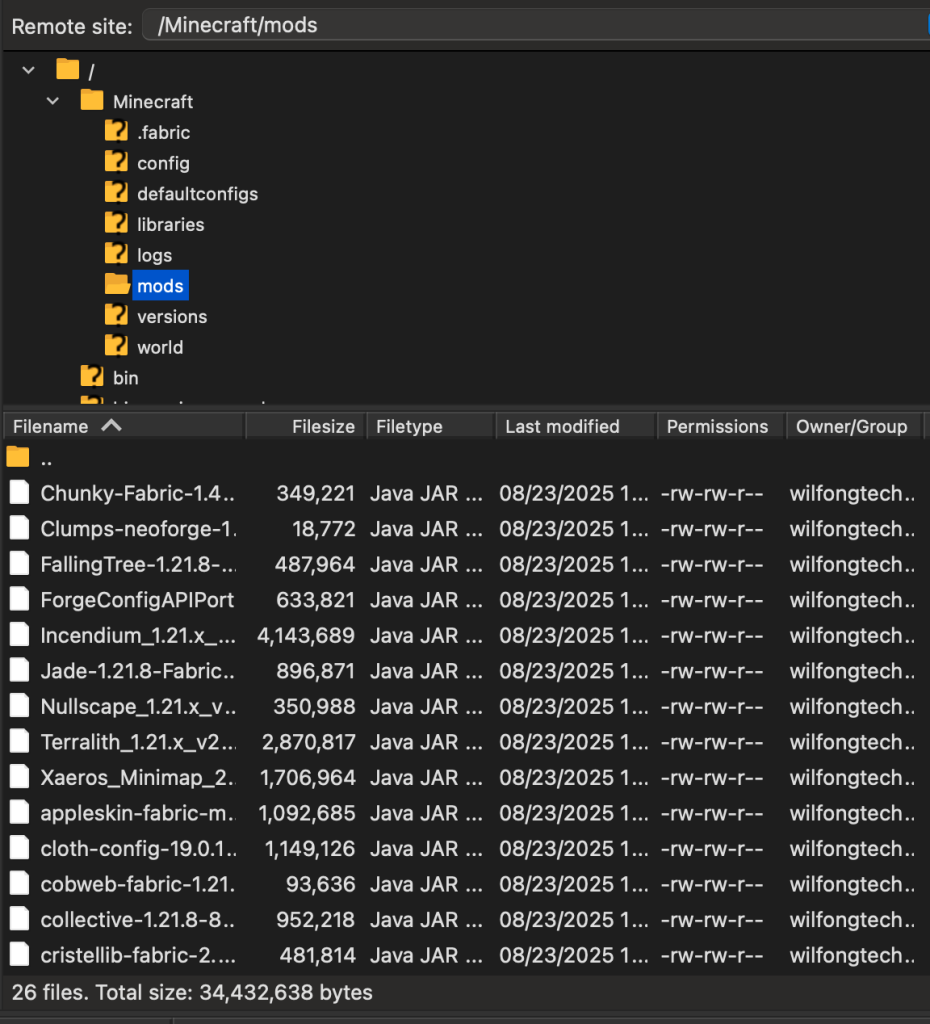
On the right side of Filezilla, you will see Remote site. From here, you’re going to type in /Minecraft/mods.
On the left side of Filezilla, you will see Local site which is your computer. You can navigate to where you downloaded the mods and drag/drop them into the /Minecraft/mods folder on your server.
After you upload your mods, you can view them on the Ubuntu server.
On our server, I downloaded a ton of mods to try out. If you’re on the server, you can type in:
ls /Minecraft/mods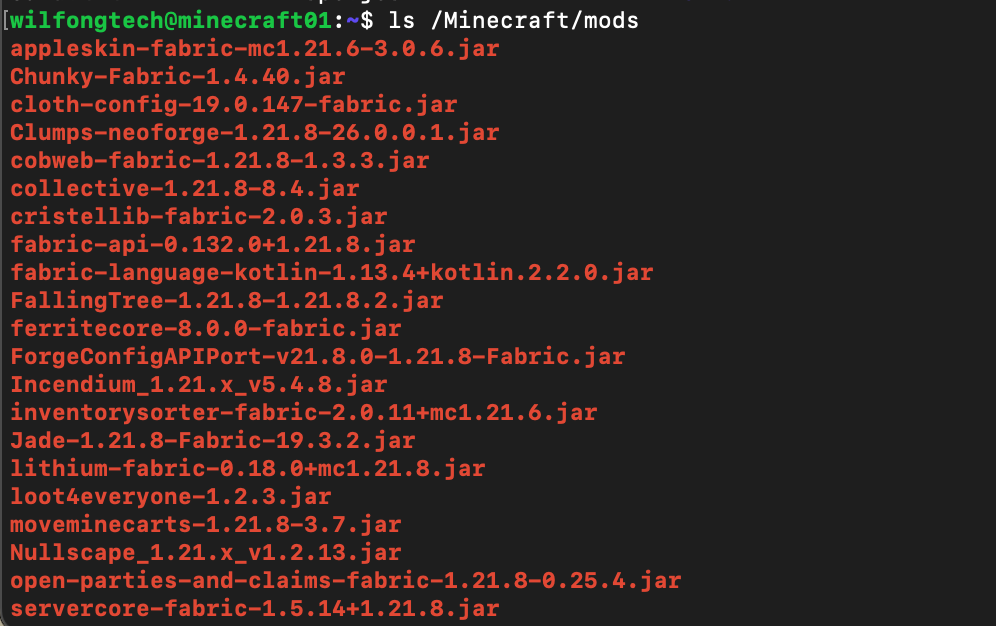
Now that we have our our Minecraft server setup. We need to be able to gain access to it when we aren’t at home. Enter playit.gg.
Navigate to Playit.GG and sign up for an account.
You can follow the steps here as reference for making playit.gg work on your Minecraft server:
https://playit.gg/support/run-on-linux
For our example, we will do the following:
cd /
Minecraft/
sudo curl -SsL https://playit-cloud.github.io/ppa/key.gpg | gpg --dearmor | sudo tee /etc/apt/trusted.gpg.d/playit.gpg >/dev/null
echo "deb [signed-by=/etc/apt/trusted.gpg.d/playit.gpg] https://playit-cloud.github.io/ppa/data ./" | sudo tee /etc/apt/sources.list.d/playit-cloud.list
sudo apt update
sudo apt install playit
Then run:
chmod +x playit-linux-amd64
./playit-linux-amd64
This will populate a link in the CLI that you need to go to to claim the tunnel.
In the Playit.GG dashboard, you will be given a link to connect to from the multiplayer tab in Minecraft.
Now you should have a Vanilla Minecraft server with some mods to play with your friends.
